I have been waiting to try out Oracle Enterprise Planning and Budgeting Cloud Service (EPBCS) and I finally got a chance to write about it. In this post we will create an EPBCS application with multi-currency enabled and go through the application defaults.
When you login to your EPBCS pod for the first time, you are presented with the following screen:
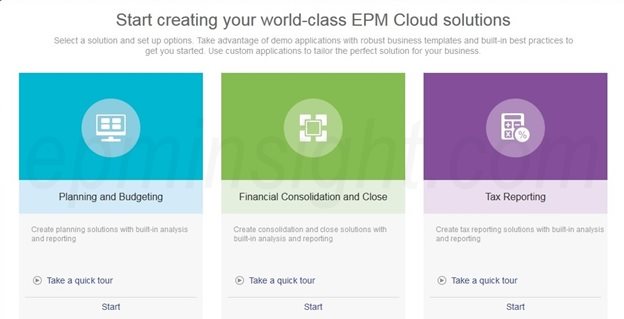
Click on ‘Start’ under Planning and Budgeting
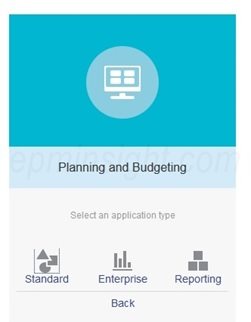
You are presented with 3 options: Standard – This creates a PBCS application, Enterprise – This creates an EPBCS application, Reporting – This creates a planning application with one BSO Plan Type and one ASO Reporting cube.
Select ‘Enterprise’. This takes you to the create application wizard.
Enter a name for the application and description. Click ‘Next’
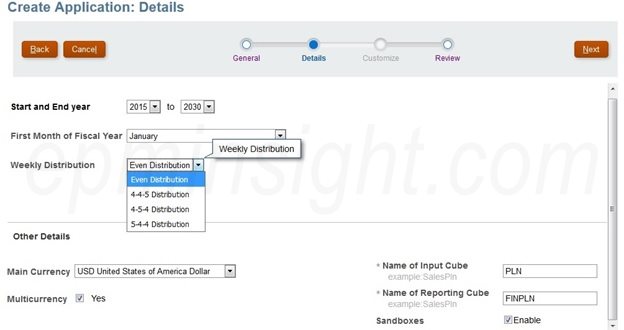
This pane allows you to select the start and end year, weekly distribution, multi-currency, sandboxing, planning cube and reporting cube details. Note that when you enable sandboxes, a dimension called ‘HSP_View’ is added to the application. I have enabled this so we can look at the dimension created by enabling this feature.
Note: Sandboxes can only be used when you create custom block storage cubes in the application. Sandboxes are not available and supported for EPBCS cubes created by default like Capital, Workforce and Financials.
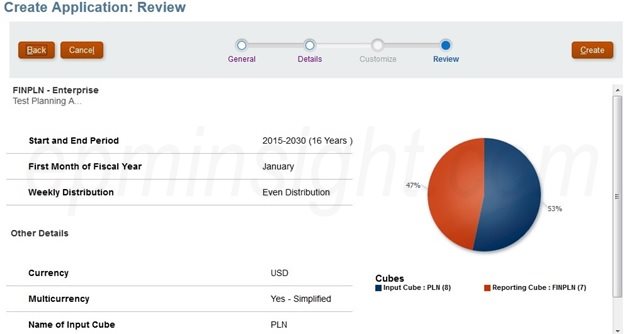
Click ‘Next’. This takes you to the ‘Review’ screen.
Note that under Multicurrency, the selection shows ‘Yes-Simplified’. When the multicurrency option was selected in the previous screen, there was no option to select different multi-currency options like simplified or advanced etc.
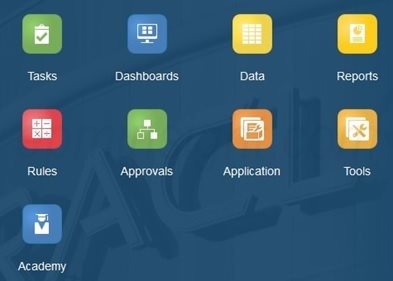
Click ‘Create’ after reviewing the details. Once the application is created you will be presented with a screen showing the different option cards.
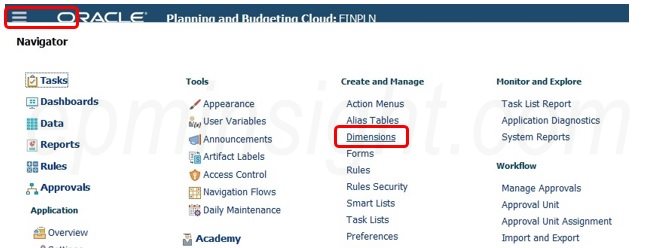
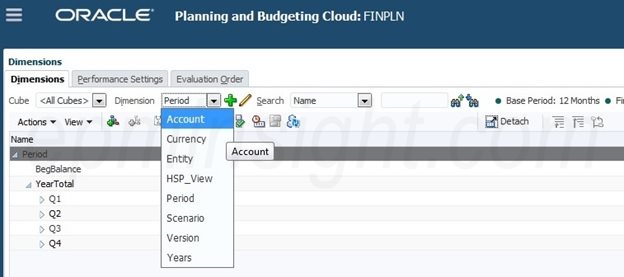
Let’s look at the dimensions that have been created at this stage. From the Navigator, select ‘Dimensions’
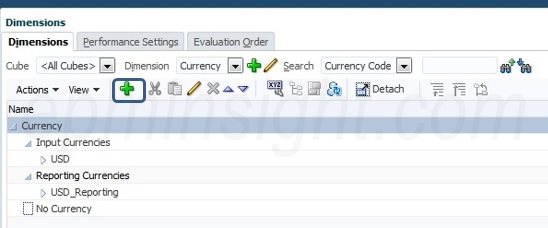
Currency Dimension: This dimension is created since we setup a multi-currency application. Note the hierarchy that is setup by default. ‘USD’ is created under ‘Input Currencies’ and ‘USD_Reporting’ is created under ‘Reporting Currencies’ since we had selected ‘USD’ as the main reporting currency during application creation.
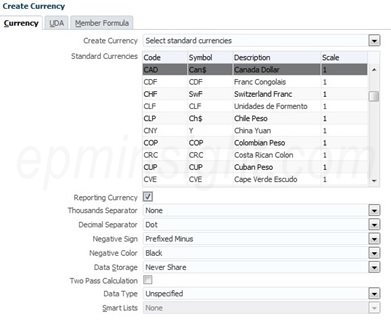
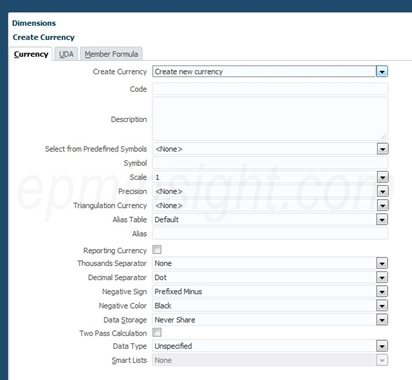
Clicking on the ‘+’ button brings you to a ‘Create Currency’ wizard. This wizard gives you two options – ‘Select Standard Currency’ and ‘Create New Currency’
Select ‘Standard Currencies’ allows you to select from a list of currency codes and set them as reporting currencies along with other properties.
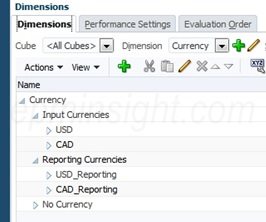
In this case, I have selected CAD as the reporting currency. Once this is added, the currency dimension is updated and CAD is available in the input as well as reporting currencies rollup. The multi-currency option is an important element in the design of the application. Traditionally we would create a custom dimension for currency and have a standard setup of a ‘Local Currency’ member and additional reporting currencies as required. In the multi-currency setup in EPBCS you will need to put the Input Currencies on a page drop down form for input. You will also need to setup valid intersections so as to allow entity inputs for specific currencies only so data is not entered in invalid combinations.
‘Create New Currency’ asks you a bunch of questions like code, triangulation etc.
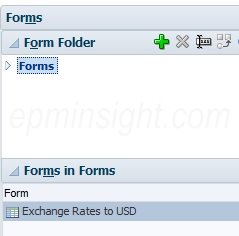
There is one data form called ‘Exchange Rates to USD’ created in the root, i.e. the ‘Forms’ folder
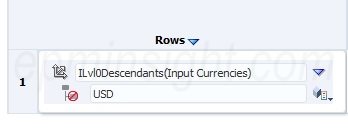
When you edit the form layout, you will notice that there is an exclusion rule created for USD which also means that the form will not open unless there is one additional currency code setup in the system apart from the main reporting currency.
Initially, I did not see any business rules created in Calc Manager by the multi-currency setup which led me to assume that you would need to write the business rules for currency conversion. A big note of thanks to Celvin Kattookaran for pointing out that a system rule ‘Calculate Currencies’ similar to the ‘Calculate Form’ is created and tagged to forms when you create them.
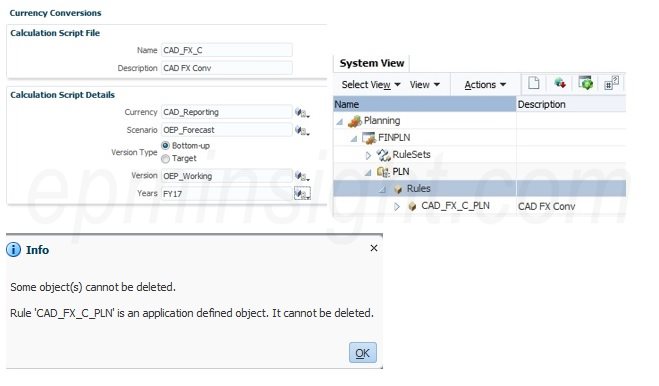
Additionally, you can create currency conversion scripts by going to Navigator->Currency Conversions. Here you can specify a name, description, currency, scenario, version type, version and years. On clicking save, this creates a business rule (suffixed with plan type name) in every database that is configured. These rules are visible in Calc Manager. Note that once you create this rule, you cannot delete it. When you open the rule you get a warning stating that if the rule is modified, it will be ignored during application upgrades.
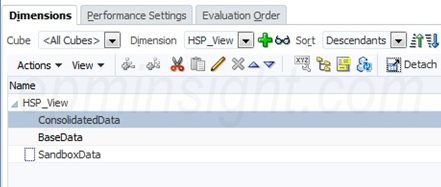
HSP_View dimension: This dimension is created since we enabled ‘Sandboxes’ while creating an application. Note the default members that have been created. Any sandbox members created through forms using the sandbox process are created under ‘SandboxData’ member in this dimension.
At this stage no other default tasks, dashboards or reports have been created as part of the initial basic application creation without any business modules configured. This application just contains one BSO Plan Type and one ASO Reporting cube. Capital, Financials, and Workforce modules can now be configured using the configure process.
I plan to add a couple of posts on Capital and Financials configuration as soon as I get a chance.


